Pages

Tuesday, May 26, 2015

Two Layouts with the Same Paper

So I know you are sick of hearing about The Big Purge.  But one incentive for finishing up the project is trying to reduce the amount of time I spend choosing supplies for a layout.  Picking the paper can take longer than actually coming up with a design and putting it together. 

But what happens if you try to get two layouts out of the same papers - I almost never use a whole sheet unless it is a base for the design.  So Friday night I wandered into my scraproom to play and picked two papers.

This pretty pink from the Amy Tangerine Rise and Shine Collection - I love the way the pink shades toward peach shades.


And this yellow from Fancy Pants Office Hours (I love the texture of this paper)


Then I pulled a brand new sheet of vellum from the Crate paper Poolside collection from my stash.  It has a great weight and the glittery swiss crosses add something special.
And while I was going to embellish from my stash as it made sense, I did pull a doily and this chipboard pack from the Pink Paislee Citrus Bliss Collection.  The bluses, pinks, yellows and golds seemed to work perfectly with the papers I chose. 


And of course, I had a basket of scraps on my desk to use to add layers - and all the other treasures buried in my scrap room.

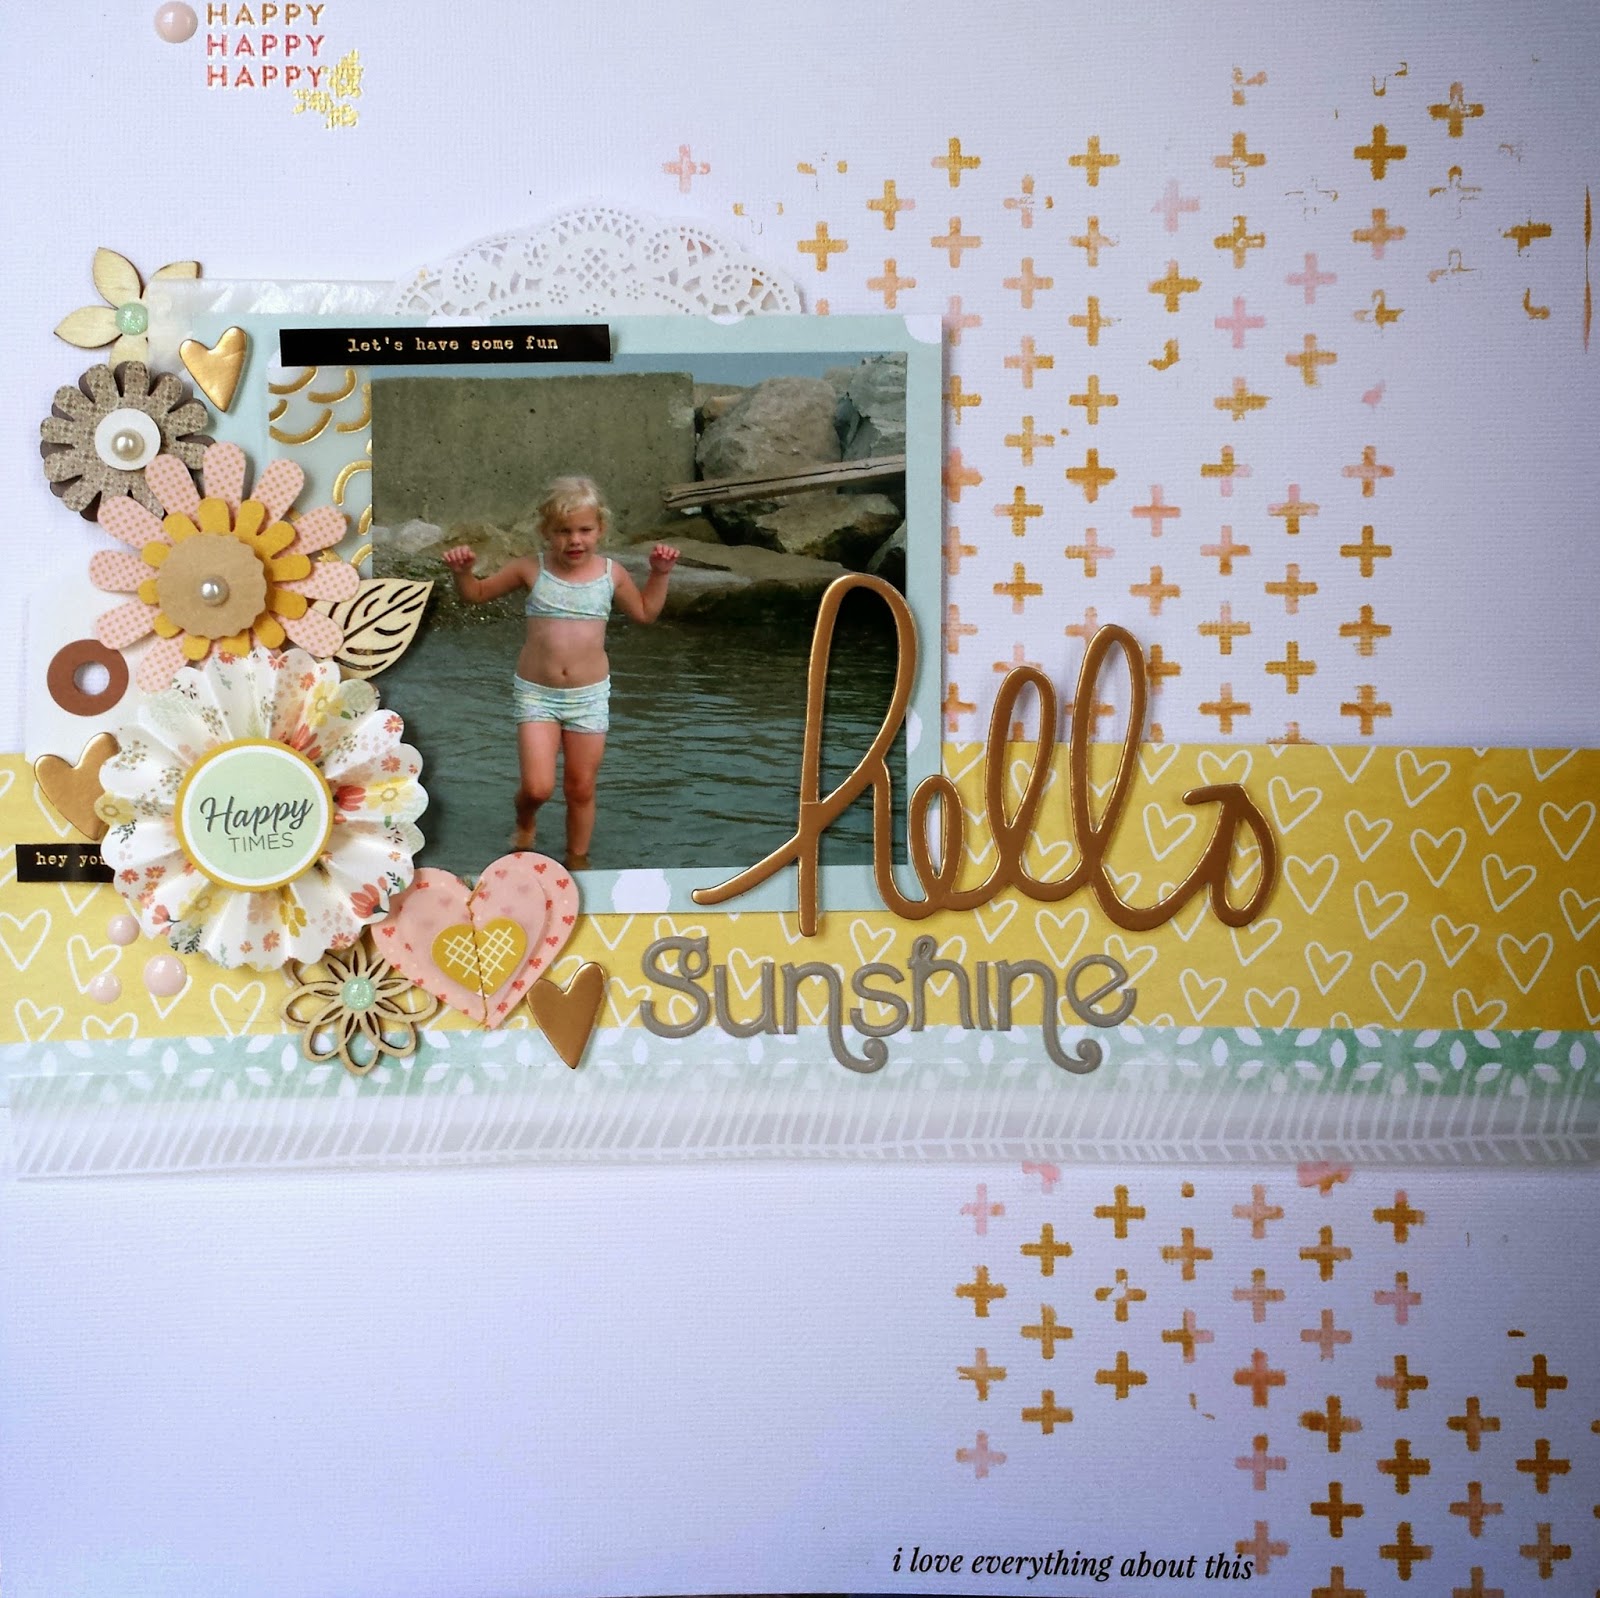
The first layout I came up with was this soft dreamy layout using an old picture of my oldest son and daughter on the beach.  The design was inspired by a sketch at Citrus Twist Kits.


I love the extra detail the patterned base sheet adds.  And then I saw a grid layout that caught my eye - and you know I love a good grid.  So I made this layout. 

I added some dear lizzy scraps and some labels and other bits, but came up with a layout with a totally different feel. But using the same papers as my starting point meant I put two layouts together in about 3 hours - super fast for me.   And there was less to clean up. 

Thanks for stopping by.

Monday, May 25, 2015

Winner Winner Chicken Dinner.........

So I picked a winner this afternoon, and in my experience this never happens!

There were 39 comments and the random number generator picked number 39 - that's right the very last commenter won!

Meredith245@yahoo.comMay 25, 2015 at 7:57 AM
I have built in cabinets to keep my stash under control. Thanks for the chance to win paper!

Meredith, please send me your mailing address at juliee181 at gmail dot com.  

Thanks everybody for the great tips and for playing along.  Me - I'm still purging (though I've been playing a bit too).

Saturday, May 16, 2015

The Big Purge - Chapter 2

Stamps are purged, patterned paper is purged, and I am half way through my stickers.  I am really proud of the way I am cutting back the size of my stash (which will still be huge when I'm done).  I even talked my husband into putting up a folding table in the living room so I have a place to sort and organize.

So I think its time for a reward for a job well underway.  And that means one for me and one for you.  Me - I am going to break down and order the WRMK Fuse.  I'm dying to have it so I am going to use some of my sale proceeds on a new tool (which is better than a box full of new stuff for my stash, right?)

And for you - tonight I filled 9 flat rate boxes with 100+ sheets of patterned paper each.  Each box holds a random mix of manufacturers, collections, and patterns.  There are even Studio Calico kit exclusive papers in those boxes - like that navy with gold stars from Blue Note?  I had a ton of that in my stash so some it if went in my purge pile.  I'm selling eight of the boxes for $35 shipped (US only).


But the ninth box is looking for a good home.  So if you would like me to send it your way, leave a comment telling me one trick for keeping my stash under control when I finally, some day get the purge done.  I will pick one commenter at random on Memorial Day and ship the box their way.  (US only please for the giveaway just because shipping costs would be so high.)

Oh - and a second reward for me - tomorrow I am going to clear off my desk and make something!  I am really missing my time to create and am hoping that a break from the big purge will help keep me focused on the end game.

Wednesday, May 13, 2015

The Big Purge

It's Workspace Wednesday - and mine is a mess!  Last week I took a few days off.  My plan was to spend the time in my scrap room playing and on the deck relaxing.  And then on Day 1 I went into my craft room and was overwhelmed by the size of my stash.  So not much creating has happened here.  Instead I started The Big Purge.


.
My stash has grown to ridiculous proportions.  I blame the demise of the local scrapbook store - I used to buy the pieces of collections I love, but now I can't see it so its harder to be selective; plus I am a sucker for the free shipping offers.  And I don't ever seem to finish anything - I have part packages of tons of stuff - and they take up just as much room as full packages.  But back to the purge, because the why doesn't much matter.

I started with stamps - I am not much of a stamper so I thought they would be easy.  And since they come in just about every Studio Calico kit, they accumulate quickly.  My goal was to go from two overflowing baskets to one that is not overflowing.  It took about 5 days, but I'm there.  And I am slowing selling them at the Project Life Shop & Swap Facebook Page.  


And now my goal is to keep my stamp collection to what fits in that basket.  That means thinking hard about which kit stamps to keep each month.

Then I moved on to paper.  I love patterned paper - and I hoard patterned paper.  But I have way too much.  I forget what I have or can't find what I want.  And the newest additions to my stash are most likely to get used because they are on top.  I am about a third of the way through - and so far this much is finding a new home.


Embarrassing right?

Oh - and if my scraproom isn't a big enough mess right now - this is hanging on to the edge of my desk.


It's "Happy Tape" from my daughter's school play - she saved it so I could put it in her scrapbook.  But how do you save sticky tape til you are ready to make the layout?

I do have a few projects I'd like to share from the last couple of weeks, so keep an eye out.  It can't all be about reorganizing right?

Today I go back to work, so my destashing will slow way down.  I'm a little bit bummed about that.  My motivation was already slipping and I am afraid this will make it worse.  Please hare your tips for de-stashing and managing your stash.  I need help!

Oh - and with destashing comes the possibility of a giveaway or two or three, so check back once in a while.

Thanks for stopping by.


Saturday, May 9, 2015

Small Business Saturday - Feed Your Craft

I love all the beautiful products made available by manufacturers.  After all nothing makes me happier than pretty paper.  But finding unique products made by other crafters that I can incorporate into my projects is so much fun.  And those special items can really make a project stand out.  Today I want to feature one of those fun small businesses. 

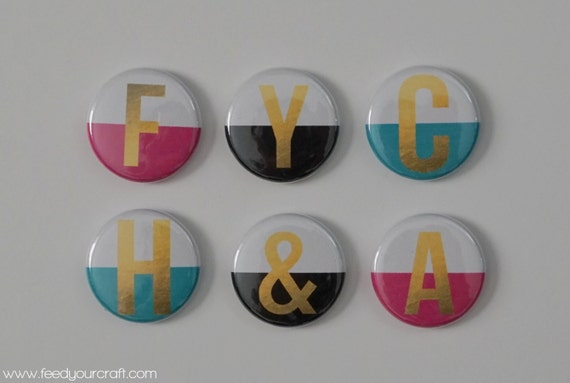
Feed Your Craft is a fun Etsy shop featuring mini flair.  I love the size of the flair Elise sells.  It makes a fun statement without being too big and bulky.

One of my favorite sets is the gold letter dip dyed mini flair.   You pick the letters and the color (black, pink or teal).  The effect is so striking.


I used a teal "E" on this layout.  It worked perfectly with the colors in the Carolina Moon scrapbook kits from Studio Calico and just filled in an empty space on my grid.  It was a quick and easy way to add dimension and a fun element.


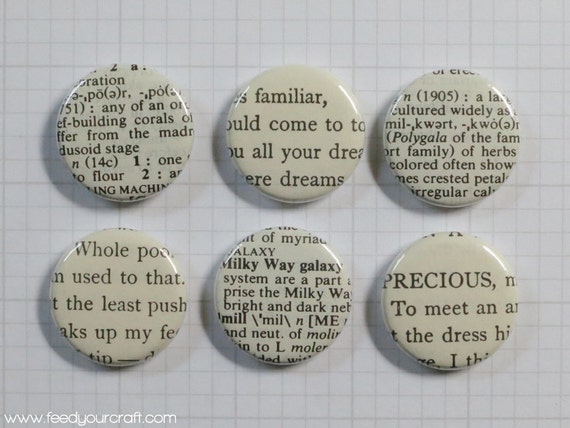
Another favorite is the book paper flair - it is made with real dictionary and book paper.  It is such a fun and unique take.


Elise has so many fun patterns and themes.  Several sets feature doodling by another Studio Calico member.  But my very favorite is the 50/50 mix.  You can make your own set of 6 by picking 3 each from two different sets.  Its a great way to get lots of variety without a big investment.

So who are your favorite small online businesses where you find special pieces for your projects?  I'm always looking for new supplies.

Thanks for stopping by.

Tuesday, May 5, 2015

Patterned Paper

One of my favorite things about scrapbooking is all the pretty patterned paper.  And I love mixing patterns and colors to create unique looks.  In fact, I often pick a paper combination and then go look for a photo that works with those papers.


And birthday layouts provide a great opportunity to go all out.  A mix of papers can really create a fun, celebratory feel on a page. This layout mixes 8 patterned papers and 1 patterned vellum.  The end result is bright and fun.


Here are some things that help me mix papers:


  • Use a patterned paper with lots of colors as your inspiration for the papers you choose.  (I started with that great striped paper.)
  • Mix patterns - all stripes are hard.  But stripes and dots - really cool!
  • Make sure your patterns are in different scales - it creates balance
  • Don't forget to think about a patterned background - the tiny stripes here add a lot of interest without distracting from the photo.
  • Lots of different patterns may mean fewer embellishments or more neutral embellishments.
And most importantly, don't be afraid of changing your mind.  If you cut a piece of paper and it doesn't work, just put it in your scrap pile.  It's only paper and sometimes a little experimentation will create a beautiful, unexpected mix of papers.

Hook me up with your patterned paper projects.

Thanks for stopping by.

3 Cards

I'm a scrapbooker, but I really love making cards.  For me they are super quick and easy - and a great way to use up scraps.  So I took a few minutes to make some mother's day cards - for my mother-in-law, for a special aunt, and of course for my mom. 

The first one uses some paper from the Studio Calico Lisse Street 4x6 pad, a scrap from my scrap basket, a piece of doily, a sticker, and a dear lizzy thicker word.  I used pop dots to add different pieces so the card has a lot of dimension.  That meant stacking popdots in some cases so that pieces were supported as I overlapped layers. And that glittery tag - it's from Ashley Calder's etsy shop.


The next one was even easier.  I used no tools - not even scissors.  I just dug for scraps that worked together and were the right size.  The flower was from an old Studio Calico cut file and was just hanging out on my desk.  I think the pink ink inkspatters pull this all together - especially the way that some landed on top of the flower.


The third card was super easy too. The three patterned papers came  right from my scraps and needed just a little bit of trimming.  That big gold rose was on a Crate Paper sticker sheet that is almost used up.  And the rosette was left over from another project.  And that label - it is from Studio Calico and was perfect for this card!


So dig into your scraps and put together some quick cards.  And link me up so I can see.  I always like some new inspiration.

Thanks for stopping by.

Monday, May 4, 2015

Trying New Things - Silkscreen

Did you have a chance to play this week in celebration of National Scrapbook Day?  I love all the challenges that get posted around the world - they tend to push me out of my comfort zone so that I try new things (or at least experiment with products and techniques I rarely use.  Silkscreens are a great example.

I have a few silkscreens - mostly from Studio Calico kits - but I rarely use them.  I love the thought of them and I love the look you get, but I'm not very confident with them.  And I rarely want to take time to let a project dry.

But this weekend, I got those babies out - twice.  I use done with acrylic paints here and it was super easy.  I figured out approximately where I was going to put my photo and then laid the silkscreen down next to it.  I put little dabs of color theory blush crush and 24K paint on the silkscreen and then smeared it around so the colors blended and I had a random mix of pink and gold.  The only problem I had was that my silkscreen was small and I had to reapply it several times to cover enough of the background for the look I wanted.


The second time I got out my silkscreens, I used them with watercolors. I used a small piece of watercolor paper and adhered my silk screen.  I then applied different yellow, orange and pink colors across the silkscreen to create a title block for a simple grid layout.


Oh - and those clouds - a stencil with gesso.  And I painted that veneer butterfly.  I was using those supplies.  Now the trick is to keep the momentum going.

So did you try anything new this weekend?  Link me up.  I'd love to see.

Thanks for stopping by.

Sunday, April 26, 2015

Top and Bottom

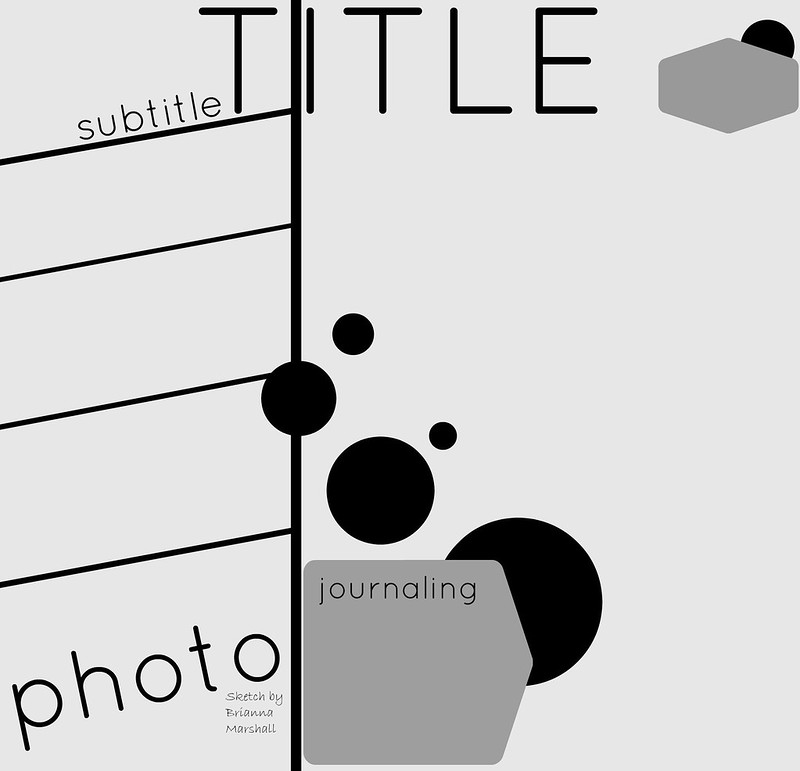
Sometimes I feel like my layouts all look alike - either grids or a slightly off-center photo block - or some combination of the 2.  So the current sketch at Stuck! was a great jumping off point for something different.


The sketch placed the design elements at the top and bottom of the page.  I had several false starts before I actually managed to put a layout together.  But it was really perfect for me - different but I still got to play with lots of layers and little bits..


I moved the layers on the top so that they were diagonal from the photo block in the bottom of the page.  It felt more balanced to me.  And the title in my layout ended up (more or less) centered. 

I found that using a sheet of patterned paper with pattern and texture helped make the sketch work for me.  I am definitely white space challenged.

So am I the only one who feels like they are in a design rut?  How do you keep your layouts fresh?

Thanks for stopping by.


Saturday, April 25, 2015

Vellum!

I have lots of scrap related obsessions, but lately vellum has been on the top of the list.  I love that it has been included in collections in lots of colors, prints and textures lately.  And I have quite a stash.

Most often I use it for layering in a photo block.  But when I saw the current sketch on the My Scraps and More Sketch Blog, I decided to try using vellum as the inspiration for my layout.  The sketch uses lots of strips of paper and I thought it would be fun to layer strips of vellum.


The layered vellum strips created a light girly look that i really like.  I mostly used strips from my scraps. And I added in a few strips of white and gray patterned paper to make the strips feel more substantial.   More vellum and a glassine bag to create a photo block finished off the layers across the page.


I dug out some old Basic Grey chipboard alphas for the title and added some embellishments.  And I just couldn't resist that floral stamp from the Studio Calico Lisse Street kit.  I lvoe that it looks like a doodle.

Thanks for stopping by.

Friday, April 24, 2015

Christmas - but not Christmas product

When I first started scrapping back in the dark ages, I was obsessed with Christmas themed supplies.  And I still have a huge holiday themed stash.  But lately, my holiday layouts seem to be built with little or now themed products.  Instead I seem to gravitate toward classic patterns and colors when I am working with holiday photos.

This layout was inspired by last week's project life sketch at Studio Calico. 


And this layout goes back to one of my go to designs - a basic grid.  But I trimmed a piece of pale blue ledger paper and turned it on the side for the base.  Then I let the columns and rows on the ledger paper shape the grid.  It was a fun technique that came together really quickly - I will definitely try it again.


And that jillibean soup flash card was perfect for my photo!

I'm curous - are you still using lots of themed supplies or have you moved in a different direction too? 

Thanks for stopping by.

Thursday, April 23, 2015

A Big Photo

I used to scrap 4x6 photos period.  Now my favorite photo size is either 4x4 or 3x3.  But I still like to mix it up.  So those 4x6 and 3x5 photos creep into my layouts.  And sometimes I order polaroid style prints from Persnickety Prints.  And I have a stack of larger photos on my desk.  So Sunday I pulled out a 6x12 photo.

The photo of my 14 year old daughter swinging and laughing is one of my favorites from last summer.  She is 15 now and I am afraid there won't be too many more pictures of swinging and playing and being a kid.  And because the photo caught the sense of motion - check out her hair - I ordered a large print because I didn't want to lose any of the details or the sense of joy. 


The layout is super simple.  I just layered patterned paper and vellum to one side ofthe photo to add interest.  On the other side I added a column of vellum hearts from Sevenpaper, going from large to small.  I need about a zillion packs of those hearts!

The title went right on the photo.  Those giant chipboard letters from Studio Calico's Lisse Street scrapbook kit were perfect for this.  (I could use a few zillion packs of those too).  I added the date and a phrase sticker to my paper layers near the bottom of the page.  A few glittery hears and a die cut mounted with foam squares and I was done. 

I am a ridiculously slow scrapper and I don't think this took me more than 45 minutes.  Of course, I was helped with inspiration from mem186 at Studio Calico.  She picked an awesome layout for me to lift that was the real starting point here. 

Thanks for stopping by.

Wednesday, April 22, 2015

Three New Things

My husband frequently says that I like organizing my supplies more than I like using them.  That's an overstatement, but I do love trying to figure out the best way to organize my stash.  Like most scrappers I am most likely to use what I see.  My goal is to make it usable, to make clean up easy and to avoid hoarding.

So over the past couple of weeks I have added three new storage things to my scrap room to try and speed up my scrapping.  The first is for all those pretty tear strips on patterned paper.  I never want to throw them away, but if I put them in my scrap folders they seem to get bent or I forget about them.  So now I have them out near my trinner where I see them - they are visible so I remember to use them, they stay straight this way, and the container is right where I cut them off paper, so they go right in. 


Other long narrow strips of patterned paper are going in here too.  I am really liking how this is working, so now I am on the hunt for a pretty tall container to take up permanent residence here.

The second is for small scraps that I want to save for layering.  I had been sticking them in with my larger scraps.  But then I forgot about them or didn't want to bother digging them out, so I just kept cutting new sheets of paper.  And eventually I threw them away.  So I found this pretty porcelain berry basket at Marshall's to sit on my desk.  It is full of small pieces of paper that are perfect for layering.  


I intentionally got something that wasn't too big.  This will force me to clean it out periodically so that the little pieces I'm saving don't get totally out of control. 

And my favorite new thing - a basket for embellishments that sits on my desk.  It holds a mix of brand new and older things that I am currently loving.  It is a mix of products that I can go to first when I am looking for those perfect bits that make a layout special.  (If I don't find something there I can still go to my stash.)

 
 I am hoping this will help me use things up, keep my desk more organized and speed up my projects.  And my plan is to clean it out every month or so to move things in and out so that the mix is always fresh.  So far, I love how this is working.

Share your favorite storage tips below - I am always looking for new ideas.

Thanks for stopping by.


Tuesday, April 21, 2015

Not Where I Was Headed

I'm having a lot of fun with the sketches from the My Scraps and More Sketch-a-thon this month.  And most of the time my layouts end up looking something like the sketch I started with - even if I turned it or changed the angle.  But once in a while, the sketch and my finished layout part company by the time I'm done. 

Saturday I started with this sketch.  It called for 3 photos.  I only had one, but I had a plan.  I was going to use one of those Maggie Holmes acetate letters and a piece of patterned paper for the the other two photos.   I think that's when I started to go my own way.


Then I looked at all the layers drawn under the two photos on the sketch.  Those became two strips of paper under my "substitute items."


The same kind of layers were drawn down by the other photo - suddenly those became four strips of patterned paper.  And that fun diagonal frame in the sketch - it became another square of patterned paper that connected the two components.  And now  that pretty sketch had turned into a grid style layout - still pretty, but very different from the sketch.

It just took a couple of things to finish off the layout.  I added small alphas right on top of the acetate alpha to create my title, added some ink splats (of course) using tinsel, seafoam and blush colorshine, a couple of bits from the new Pink Paislee collections, and some veneer butterflies from my stash. 

This is what I love about sketches.  They provide a great starting point and leave a lot of room to bring your own style to your finished project.

What would you make with this sketch.  If you give it a try, link me up.  I'd love to see.

Thanks for stopping by.

Monday, April 20, 2015

Spring

Each week Studio Calico posts a challenge from a member on their blog.  (I dream about being asked to do this).  The challenges are always fun, but last week's is one of my all time favorites.  It inspired a layout I would never have thought to make.

The challenge was to use a quote and leftover pictures and/or scraps of pictures.  And I have lots of pieces of pictures left from cropping.  I never want to throw them away but I have no idea why I am saving them. 

When I saw the challenge I immediately thought of photo scraps of a handbook spread I did last year with photos of spring flowers.  And of of my favorite project life card in the Lisse Street project life add-ons.  It had a quote about spring from Henry Wadsworth Longfellow

Came the spring with all its splendor,
all its birds and all its blossoms,
all its flowers and leaves and grasses

Maybe its because the winter was so rough, but the quote touched me as soon as I saw the card.

I arranged the photo scraps and the card in a simple grid.  Then I pulled out the Lisse Street 4x6 paper pad and cut small pieces to fill in the gaps.  I don't have a sewing machine but I love the look people get when they stitch and then bend up the papers, so I tried to replicate it.  I put a strip of adhesive down the middle and bent the edges up.

The project life card is attached to a vellum scrap and mounted with foam tape.  Then I added a few simple embellishments and some ink splatters to finish off the page.  

Use up those photo scraps and link me up with your projects.  I'd love to see.

Thanks for stopping by.

Saturday, April 18, 2015

Getting Started

I've really been going strong in my scrap room lately, but this past week I slowed way down.  I had a stack of sketches on my desk and lots of pictures, but I just couldn't seem to get started on anything.  Then last night I came across the latest Creative Jumpstart.

Creative Jumpstarts are challenges published (I think bi-weekly) by Marcy Penner and Stephanie Bryan - two of my favorite scrappers.  The challenges vary but this one was a recipe challenge - striped paper, chipboard and washi.

This was just the push I needed.  I had a picture of my cube-mate at work where she is looking between the glass panels that separate our workspaces that I had wanted to scrap and a fun striped paper from the Studio Calico Lisse Street kits that reminded me of her (I don't know why - it just .did).  And I had a sketch from My Scraps and More I really liked but had been struggling with


I thought it was perfect for my photo because the stripes reminded me of the way the cubes are lined up and the way we look for the glass panels.  But I finally figured out that the angle of the stripes was throwing me off.  I am a pretty lazy scrapper and its a lot of measuring and work to get those angles straight for a whole page.

So I turned the sketch 90 degrees, straightened out the stripes (sort of) and ended up with this.


Most of the papers I used were from the 4x6 paper pad - the smaller scale worked well for the size of the strips. 

I layered some of my paper strips for added interest.  And I used foam tape to adhere some of the strips and the photo - this created some dimension which I really liked. 

Next the washi - one of my favorites right now is a whide tape with navy hearts.  It was perfect, but I wanted a less perfect strip.  So I adhered one side of the tape to the paper and then tore down the middle for an uneven strip at the bottom of my page.  I finished it off with some chipboard thickers. 

If you try the creative jumpstart, the sketch or both, I'd love to see.  Link me up!

Thanks for stopping by.

Thursday, April 16, 2015

Colored Cardstock

I can remember when colored cardstock was a craftroom staple.  That must be why I have a really big basket of it - even though I almost never use it.  But once in a while, I dig out a piece for a project.

Saturday I was working with the May Studio Calico kits and really wanted to use the fun vellum in the main scrapbook kit.  It is printed with fun words in a great font - in white.  And when I put it over patterned paper, I felt like the detail was lost.  So I tried it over white paper - totally a waste of the pattern.  So finally I dug around in that basket of colored cardstock and pulled out a piece of soft aqua cardstock.

The vellum looked perfect"

Layout design inspired by sketch at My Scraps and More

I wanted a simple design so that the vellum would really shine. So I created a simple layered photo block.  The gold foil card is from the Studio Calico letterpress calendar offered at the beginning of the year (I snagged it at Last Call a while back) from a past month.  I cut it down so it worked in my design.

Of course I added ink splats, but some of them separated creating ugly blots on my cardstock.  I dug out some wood veneer flowers and used them to cover up the ink splats that didn't turn out so well.  And they turned out to be the perfect finishing touch.

Maybe this will motivate you to dig out that colored cardstock I know you have buried in your craft room.  Thanks for stopping by.

Note:  I just realized the date is wrong on my label - it was July 5, 2014.  I've fixed it now.

Tuesday, April 14, 2015

Those Maggie Holmes Alphas

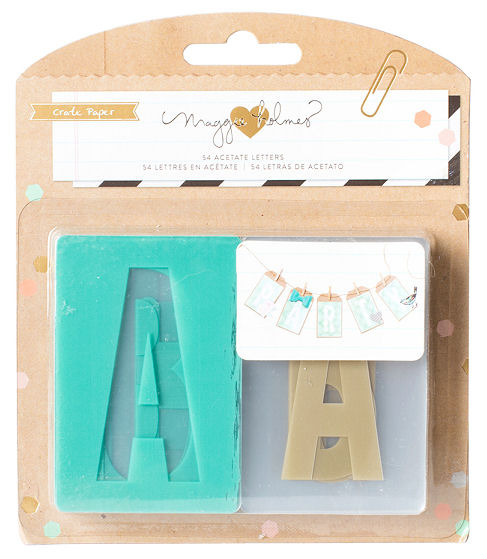
I am a confessed hoarder (though I am working on it) and I love my stash.  And alphas are one of my most favorite thing.  So When the new Maggie Holmes acetate alpha came with my Lisse kits, I feel in love.  And I couldn't wait to use it......
I only got the blue ones so I am going to have to order a set.......
I loved the scale - they are about 2 inches wide - and the distressed finish.  They are just so fun.  (Please note that I am a recovering hoarder - I loved them and wanted to use them :)  )

So I decided to use them as the starting point for a layout with a photo from Thanksgiving - our family has a Tripoley tradition and we often play for pennies when we get together.


I used my tiny attacher to create a title up the side of my page.  I loved that it totally filled the space.  I even had to trim the "P".  Then I pulled papers and other bits from my Lisse Street kits to create the simple grid.  That light blue card is a project life card I trimmed down and the sentiment on it is from another PL card.  And of course it took a few ink splatters to finish of the layout.

Thanks for stopping by. 

Monday, April 13, 2015

Stuck!

Lately my favorite starting point has been a good sketch.  And when I came across this sketch at Stuck! Sketches, I loved it.  So I printed it and put it in a pile of sketches I love that is accumulating on my desk.  (That way I don't have to spend time finding a sketch when I'm ready to scrap - they are just ready for me.)


I pulled some papers and embellishments from the Studio Calico Lisse Street kits as my starting point and went to work.  I even used my cuttlebug and a tag die to cut a project life card into a tag shape. 


I just kept adding layers til I was happy with it. I kept adding strips of paper and even ripped a piece of the sevenpaper gold triangle vellum when I was too impatient to hunt down my scissiors - But I like the look of the torn paper her.  Then I went to my stash - there are some "vintage" Dear Lizzy stickers on here that worked perfectly with the colors and feel of my layout.  I also added some wood buttons from freckled fawn that were sitting on my desk and some Crate Paper Crapft Market dimensional stickers with burlap to finish it off.  And of course I need some ink splatters - these are with Mister Huey's opaque white.

Thanks for looking.