Pages

Showing posts with label pinkfresh studios. Show all posts

Tuesday, May 10, 2016

Mixed Media Effects With Rub Ons

I love the fun backgrounds I see people create with all the amazing mediums available.  But I am a little bit scared of paints and other mixed mediums on my layouts - I don't use them enough to be really comfortable and I feel like I don't have control of what I'm creating.  So I've come up with a fun technique using rub-ons that creates a similar effect. 

I love rub-ons and almost always snag them when they come out these days.  But I don't always remember to use them.  And I've learned - the hard way - that rub-ons get old.  Eventually they either don't want to release onto my project or they leave part of the image on the protective sheet in the packaging.  But they are still a great source of color and are fun to use.

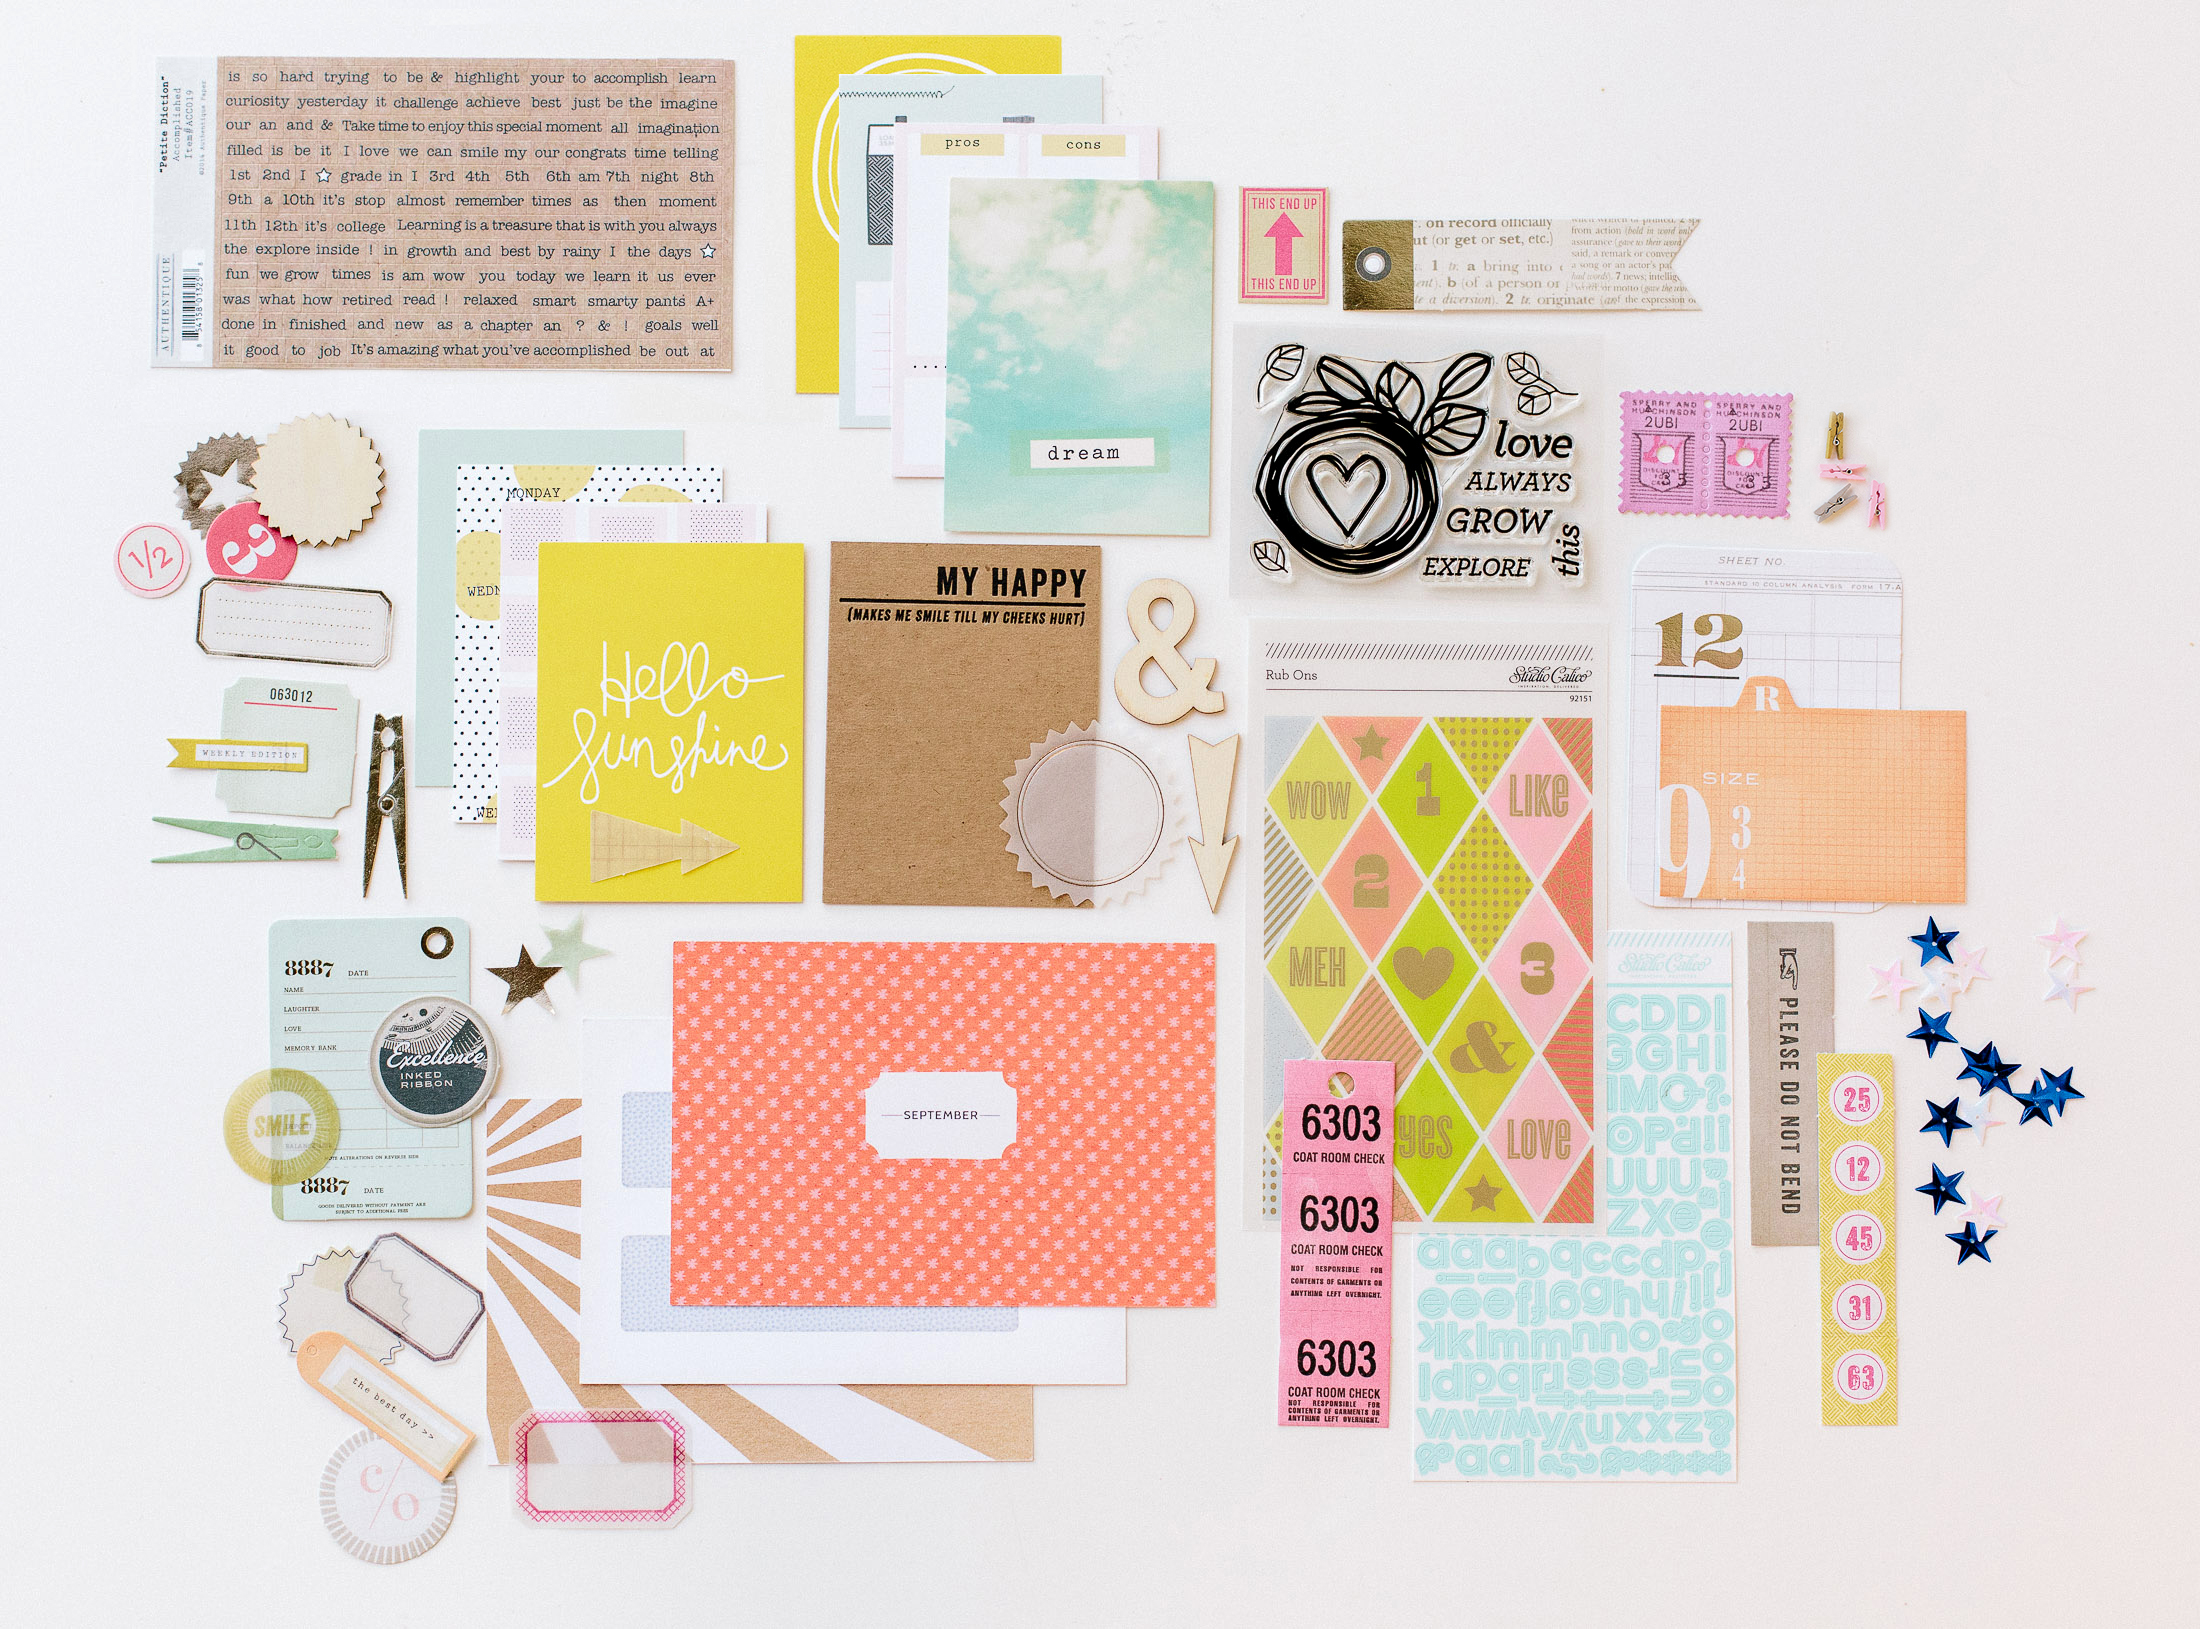
Here is a layout where I used lots of old rubons - I started with a pretty piece of patterned paper from Pinkfresh Studio along one side of my layout.  Then I pulled out rubons that seemed to coordinate to create a mixed media effect.


There are a couple tricks to this technique -
  • Make sure you get incomplete images - you are creating color and texture and not shapes or images in most instances.
  • Layer the rub-ons over each other.  It creates a more irregular effect and adds dimension.
  • Adding in some black and white words or images helps anchor the effect
  • Make sure some of the rubons go on to the patterned paper to tie the two elements of the layout together.
I added some ink splatters in coordinating colors to finish the layout.  And I didn't do it here (mostly because I was lazy) but adding in tiny enamel dots, sequins or bits of wood veneer can really make the whole thing pop.

So there you have it - a mixed media effect with no mess.  It's super easy and a great way to use up those rub-ons in your stash. 

Thanks for stopping by - have a great Tuesday.


Wednesday, November 4, 2015

Two Colors

Mixing patterned papers might be one of my favorite things in the whole world.  But, for me, that usually means 4-5 colors on a layout.  So when I saw a challenge that said "use one color and an accent color" I wondered if I could do it.

I am down to the scraps from my October Citrus Twist kits.  But I had several black and white papers left - and a great teal stripe that I loved and somehow hadn't used.  So game on.......

design inspired by sketch at Stuck?! and 3 to inspire prompts at Citrus Twist Kits

The current sketch at Stuck!? provided a starting point.  They are partnering with Scrap It With A Song - this is a new challenge blog to me.  Scrap It With A Song offers songs as an inspiration point.  This month one of the songs was the Beatles' Octopus Road.  I took inspiration from the context of doing things together and used a picture of my son with his cousin. 

I  ended up really loving the final result (I treated gold as a neutral which might have been cheating....)I think what really made this work was the embellishment clusters which allowed me to add bits of teal to tie in with that striped paper.


This is the first time I played with thread this way and the gold really popped against the other colors.  And mixing the teal and gold splatters (no layout is done without splatters) tied it together.

So do you mix lots of colors or keep it simple on your projects.  I'd love to see .........

Thanks for stopping by.

Saturday, April 11, 2015

Making Patterned Paper

So I think I mentioned the 30 minute layout class at Big Picture Classes before.  I finished the class today (it took me exactly a week - and I did all the assignments).  The last lesson was about using a single color of ink and a stamp to make your own patterned paper.

Now I have a lot of stamps from kits, but almost never use them.  So I considered marking the lesson complete and moving on.  But stamps are a big investment and I did "have to have" all the Color Theory ink pads (because that would motivate me to use my stamps - talk about rationalization).  So I rummaged through my stamps to see if one would catch my eye. 

The floral stamp from the Yeats, a September Project Life Add on At Studio Calico caught my eye.  This was strange since I almost never use floral paper, but I went with the impulse.


I started with a sheet of smooth white cardstock and selected the Gray Area Color theory ink.  I like the soft gray and thought it would keep the floral from being too overwhelming.  I stamped the darker images first.  Then I went back through and added the lighter images by stamping off some of the ink on a piece of scrap paper.  I ended up with this - which I loved.


In the class the hand stamped paper served as the base of the layout.  But I had a hard time making that work for me.  So I cut a piece to serve as the base for the large photo block and a strip for the bottom of my page.  I kept the color scheme super simple - working with aqua, gray, black and white - and touches of gold of course.  I added lots of paper layers trying to get a mix of textures and patterns.  I mean we don't have to talk about how long the white corrugated paper might have been living in my scrap room.  And the gold foil heart layer is a project life card from Pinkfresh Studios.


I loved this photo of my daughter (who bought the same shirt for my mother and herself so they could twin - I mean how many teenagers want to "twin" with their grandmother?  The title is from a Valentine my mother sent Elisabeth (several years in a row).  I tried to add embellishments that captured the love and fun I saw in the picture they are mix of studio calico, kit exclusives, sevenpaper, crate paper, freckled fawn and elle's studio.  And lately I don't seem to think a layout is done unless I've added rub on and splatters.

Maybe this will inspire you to dig out those stamps.  Thanks for stopping by.

Thursday, April 9, 2015

Problem Solving Through A Layout

We all scrapbook for different reasons - and if you are like me, maybe for a lot of reasons.  I scrapbook because I think those albums are important to pass on to my children down the road .  But even more importantly I have learned that I am happier if I find time to do something creative every day.  And sometimes, I scrapbook about a problem or concern that is on my mind.  I find it is a great way to organize my thoughts.

Lately I have been thinking a lot about work, retirement, and finding a balance in my life.  I haven't reached any momentous conclusions, but I know that I have work to do in this area.  So when Studio Calico's member challenge this week was to use a photo to indirectly document something, I chose to do a layout about work and how I feel about work. 


The journaling is very personal to me and not something I want to share with anyone.  So it is on that white tag sticking out behind the photo.  I stuck a library pocket to the back of the photo block so that the tag can go in and out easily.  I don't want to share the journaling right now - but I don't want my thoughts to be buried forever either.

Putting the layout together didn't resolve anything for me, but it did help me to organize my thoughts about the issues I want to address.  That's a step forward.  So next time you're worrying, try focusing on something creative as a way to think through your issues.  If nothing else, you will have some time to relax and play.

Thanks for stopping by.

Note:  The layout design was inspired by the April 4th sketch at My Scraps and More.