Pages

Showing posts with label Elle's Studio. Show all posts

Saturday, April 30, 2016

Elle's Studio

We finally got some nice weather - and I've been sitting on my deck in my free time instead of scrapping or writing here.  I feel super lazy but it was so nice to see some warm sunny days.  (We are back to cold rain today.)  But last night I had to pick my daughter up about 1 a.m. - so I decided to try for some creative time as a way to stay awake. 

I came across this week's sketch at Elle's Studio and was so inspired. 


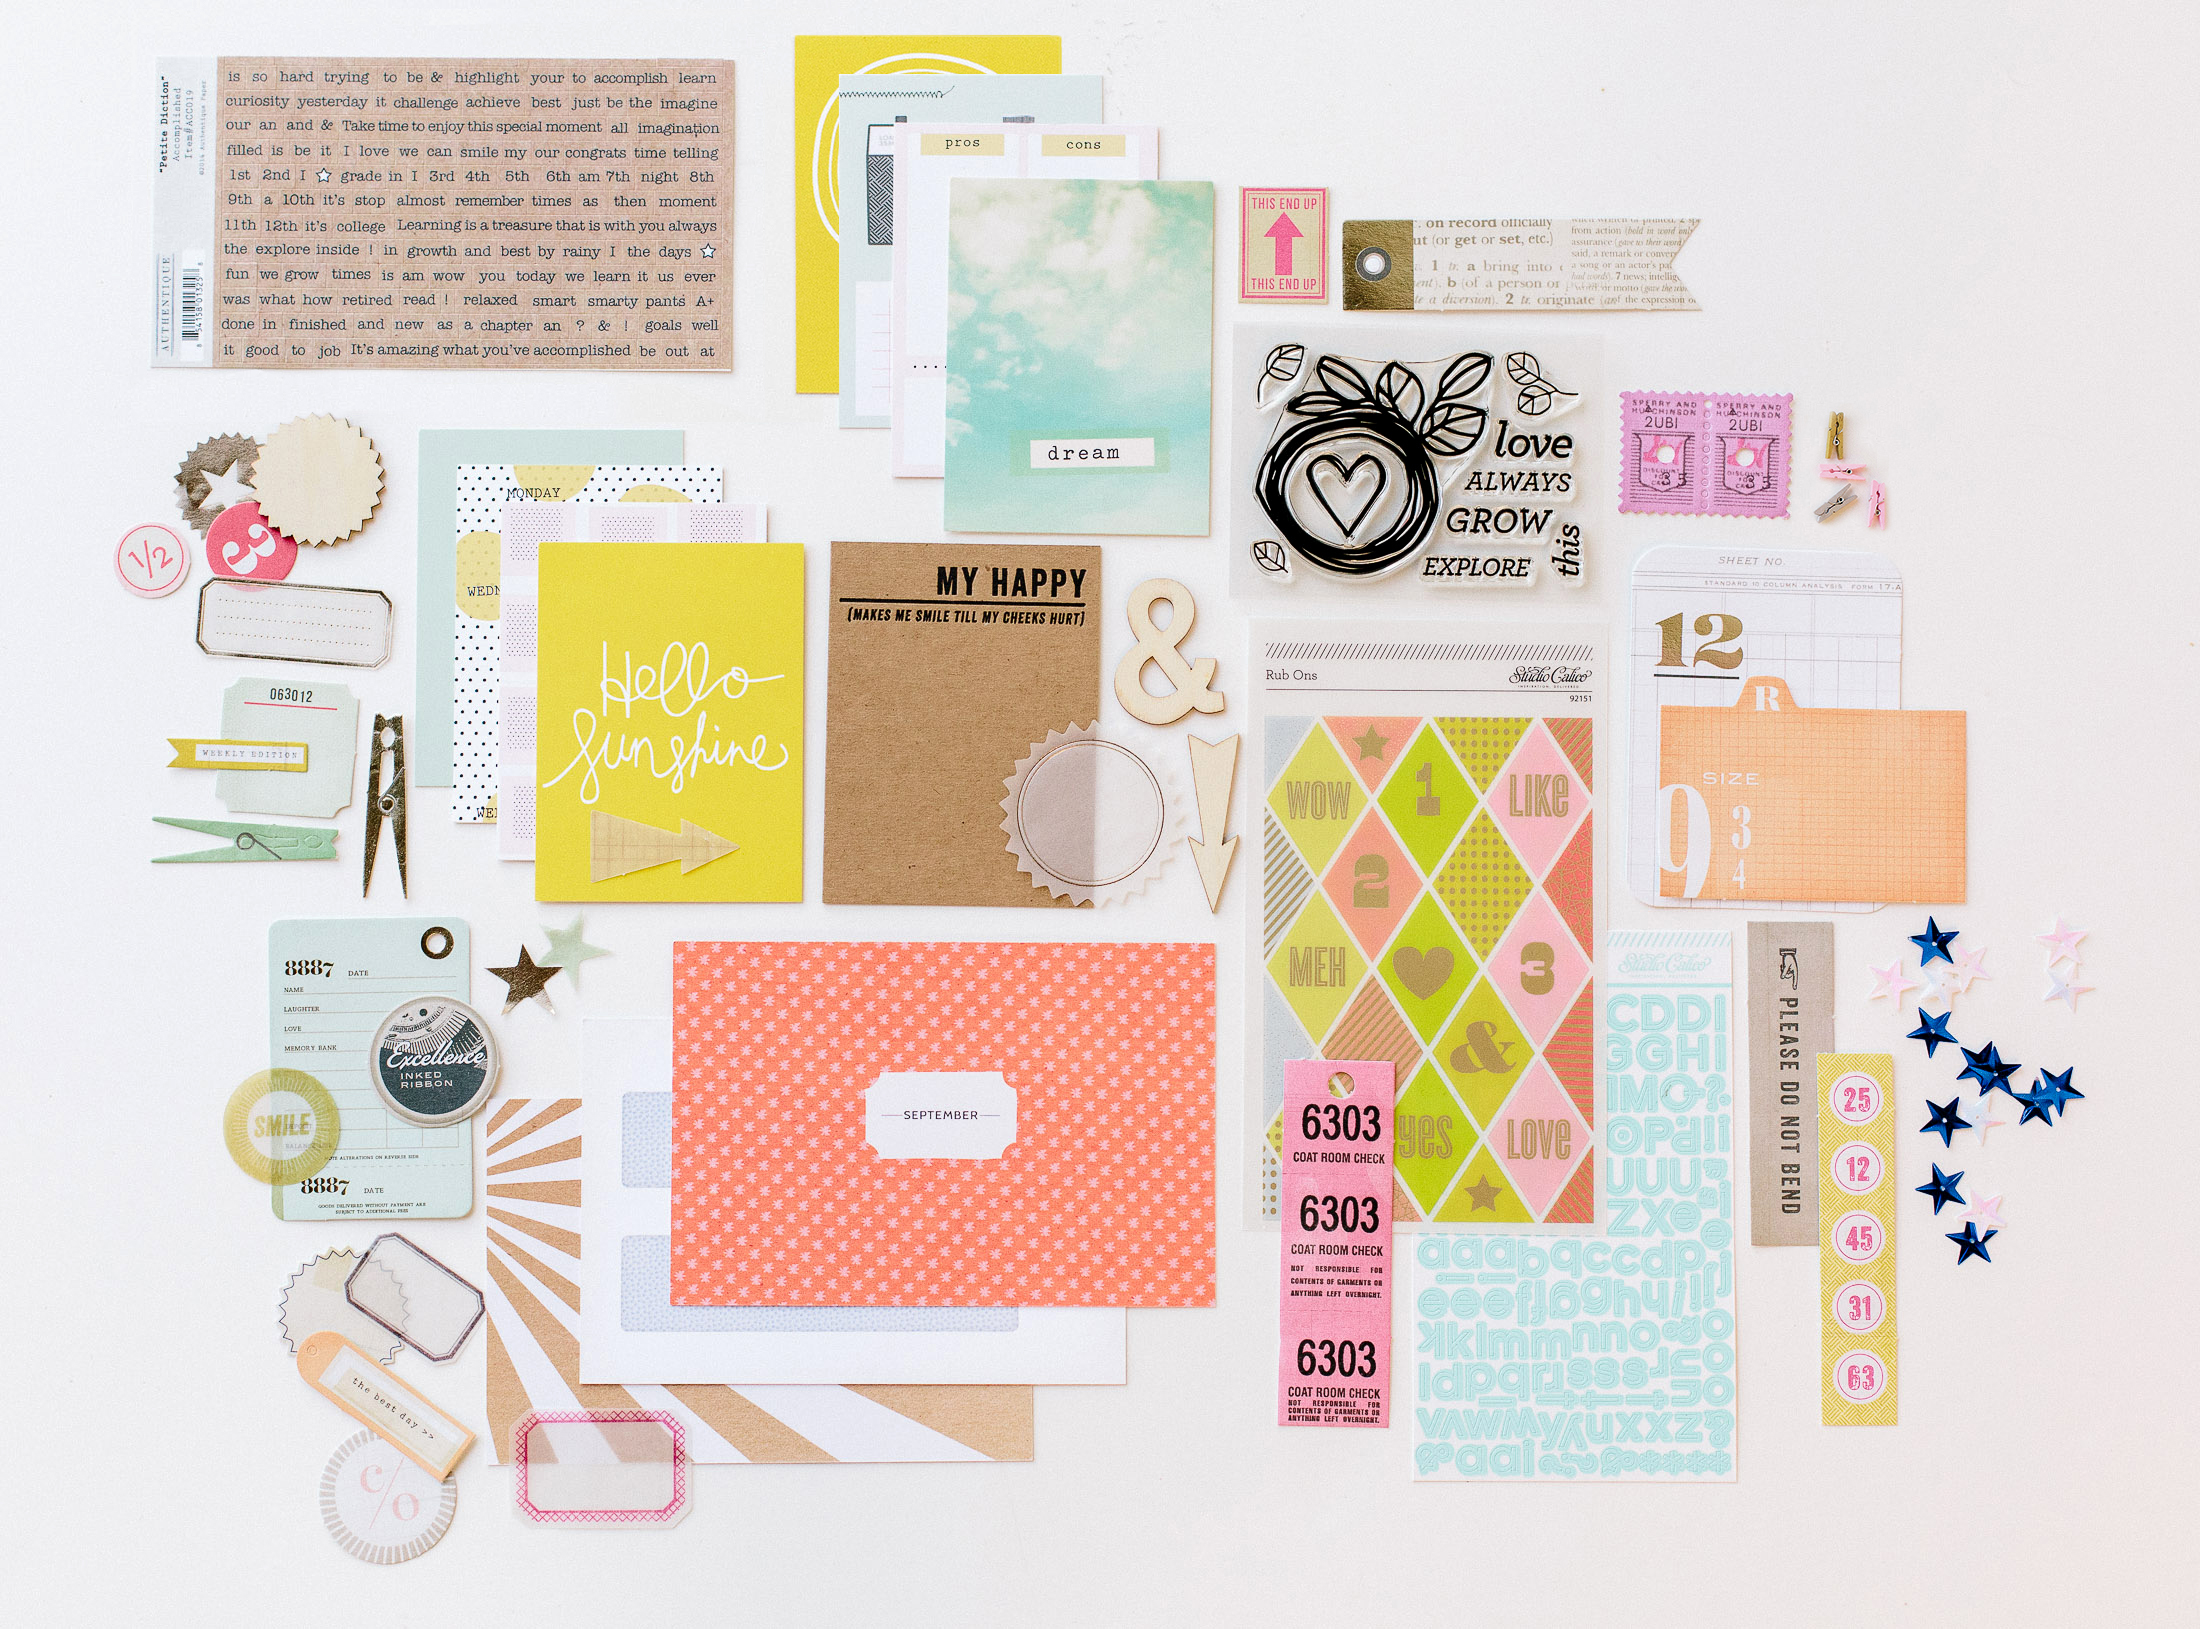
I generally fall in love with the Elle's Studio collections - they are fresh and fun and tend to feature patterns and colors that are easy to mix.  But I have to admit that - even after they end up in my stash, I don't use them very often.  But when I saw this sketch I decided to pull out the pieces I had from the Elle's Studio Little Moments collection.  And they were perfect for this picture of my daughter from a "Tiny Miss Canal Winchester" Pageant many years ago.  I love that they are super girly but still bright and fun.


I stayed fairly close to the sketch but did make a few changes to better fit my style.  First I added that fun sheet of colored labels under the vertical strip of paper from the sketch.  And I offset some layers under my picture across both the center strip and the sheet of labels.  From there I played with the embellishments from the collection to create clusters that made sense for my photo.  And I added a few bits from my stash to finish it off. 

Both the sketch and the labels were super fun to play with.  And it kept me entertained until it was time to pick up my daughter (which meant she wasn't stranded at Steak and Shake while I dozed on the couch.)  I count it as a win-win.

Hope you're having a great weekend.


Saturday, September 26, 2015

Layered Labels

I have always loved labels.  They are pretty, fun and versatile.  But they don't always work for journaling.  Sometimes I have too much to say and sometimes I don't have much of anything to say.  So I either end up with tiny little writing crammed onto a layer so that you can hardly read it or awkward blank space where it looks like I forgot to write something.  And so my label stash grows and grows and .......you get the picture.

But layered labels are my new favorite thing.  I pull several labels in different shapes and sizes and stack 'em up.  Maybe I add a few stickers, enamel dots or other small embellishments. Foam squares and glue dots can add extra dimension.   Or those phrase stickers that are all the rage - they are perfect for this.  Then I end up with a dimensional embellishment using up some of my favorite things in my stash.  And I can customize it to fit both the story I'm telling and the space I have to fill.


A little washi can anchor your cluster and add extra dimesion and texture too.

design inspired by sketch at Citrus Twist kits
 So you probably knew all about layered labels.  It is such a great way to build a custom embellishment.  But just in case you didn't...........

Thanks for stopping by

Friday, July 24, 2015

Mixing Textures

I think a lot about mixing colors and patterns on my layouts.  But I don't think about texture very often at all.  But the truth is that texture is just as important.  And my July box from Citrus Twist Kits provided the inspiration to use texture as a focus in choosing elements for my newest layout.

I started with a great piece of woodgrain paper.  The main kit included a fun piece of fabric that I would never have thought to use on a layout.  But it served as the perfect base for my photo block.  It added depth and interest that paper just wouldn't have brought to the table.

Design inspired by sketch at Citrus Twist kits
The embellishment kit included denim stickers which sounded a little strange but I love.  And they added another textural element.  Shiny gold chipboard contrasted with the fabrics and woodgrain for added interest.  And it just so happens that I had added some cork stickers to my box that worked perfectly with my project. Enamel dots, wood buttons, flair and acrylic shapes all added more texture and interest.  And of course I don't seem to be able to finish a layout without ink splatters.  But this time I used navy colorshine instead of gold, white or black.

Hope you have a great weekend.  We are headed to my hometown.

Thanks for stopping by.

Sunday, June 21, 2015

Sun-kissed

I love the colors in the summer themed lines this year - aqua, orange, citrusy yellow, blue and pink.  The are so bright and fresh!  So when I looked at the current sketch at Stuck!,  I knew I wanted to play with those shades. 


I was really inspired by all the vertical layers in this sketch.  I really focused on pulling those elements into my layout.  I was working with a single 4x6 picture (another old one from when my kids were small), so that element worked really well for me.  Here's what I ended up with.


I love those mason jars you fill from Crate Paper - and the way it added another vertical element to my layout.  And since I don't have a sewing machine, I used a little glossy accents to glue it closed.  It dries clear so you don't notice the glue at all.

Note:  I made this layout with a kit and add-ons from Citrus Twist Kits.  Tomorrow I am starting a weekly series of kit reviews with the Citrus Twist Kits June scrapbook kit. 

Thanks for stopping by!

Monday, June 8, 2015

Pink and Yellow

I'm still spending most of my free time (which has been limited) on "The Big Purge."  But I am trying to squeeze in a bit of scrappy time too.  Yesterday I put together a quick layout pulling peices from the new Galileo kits at Studio Calico and my stash. I wanted to try a color combination that was out of my comfort zone so I pulled inspiration from the Pink Paislee Bella Rouge line - pink, yellow and black..

I pulled a piece from my stash that had all those colors and then looked for papers to add - I used the pink and gold from Dear Lizzy that is in the Saturn Add On at Studio Calico, a bright yellow sheet from the Elle's Studio Let's Eat line and a black and white stripe from my scrap pile.  I pulled a piece of white cardstock for my base.And then I was stuck - literally.

When I'm stuck I usually look for a good sketch.  I found this one at Stuck! sketches.


I cut my papers based on a loose interpretation of the sketch.  But I really wasn't loving the look.  So I switched to a subtly patterned sheet for the base - which helped a lot.  Then I shifted the design to one side and ended up with this layout.  It offered room for me to play with all those bits and pieces I love. 


Now I need to get back to my scrap room purge and reorg.

One more thing - I picked a winner for my paper giveaway a while ago. But I haven't heard from her.  If I don't hear from her this week, I will be picking a new winner on Monday.

Thanks for stopping by.


Thanks for stopping by

Saturday, April 11, 2015

Making Patterned Paper

So I think I mentioned the 30 minute layout class at Big Picture Classes before.  I finished the class today (it took me exactly a week - and I did all the assignments).  The last lesson was about using a single color of ink and a stamp to make your own patterned paper.

Now I have a lot of stamps from kits, but almost never use them.  So I considered marking the lesson complete and moving on.  But stamps are a big investment and I did "have to have" all the Color Theory ink pads (because that would motivate me to use my stamps - talk about rationalization).  So I rummaged through my stamps to see if one would catch my eye. 

The floral stamp from the Yeats, a September Project Life Add on At Studio Calico caught my eye.  This was strange since I almost never use floral paper, but I went with the impulse.


I started with a sheet of smooth white cardstock and selected the Gray Area Color theory ink.  I like the soft gray and thought it would keep the floral from being too overwhelming.  I stamped the darker images first.  Then I went back through and added the lighter images by stamping off some of the ink on a piece of scrap paper.  I ended up with this - which I loved.


In the class the hand stamped paper served as the base of the layout.  But I had a hard time making that work for me.  So I cut a piece to serve as the base for the large photo block and a strip for the bottom of my page.  I kept the color scheme super simple - working with aqua, gray, black and white - and touches of gold of course.  I added lots of paper layers trying to get a mix of textures and patterns.  I mean we don't have to talk about how long the white corrugated paper might have been living in my scrap room.  And the gold foil heart layer is a project life card from Pinkfresh Studios.


I loved this photo of my daughter (who bought the same shirt for my mother and herself so they could twin - I mean how many teenagers want to "twin" with their grandmother?  The title is from a Valentine my mother sent Elisabeth (several years in a row).  I tried to add embellishments that captured the love and fun I saw in the picture they are mix of studio calico, kit exclusives, sevenpaper, crate paper, freckled fawn and elle's studio.  And lately I don't seem to think a layout is done unless I've added rub on and splatters.

Maybe this will inspire you to dig out those stamps.  Thanks for stopping by.

Saturday, May 18, 2013

This Is Me (Still)

Last month I took a great class at Studio Calico - This is Me.  The class was intended to help you put together an album about yourself.  I loved the idea, loved the class -- and got almost nothing done during the month. But I found even thinking about what to include a really rewarding way to think about where I am and where I want to go in the future.

I decided to use a SNAP binder for my album, but turned it on its side so it had a landscape orientation.  I shared the cover and my title page here.  I also did a couple of non-traditional pages about places I want to visit and how things change last month.  But mostly I didn't get past the cover.

The dividers I did broke my album up into a section on the basics (sort of just the facts), The Good (things I feel good about), Needs Work (things I want to improve on in the short run) and Goals and Dreams (big wishes, bucket list, and long term goals).   I don't think I shared these when I did them.


I used gesso, spray inks, washi tape, wood veneer and my favorite Amy Tangerine alphas on these.  And let me admit now that I love picking colors and patterns that appeal to me without considering the personality of people I'm scrapping about.  It is so fun!

Since I didn't get very far in April, I did promise myself that I would work on doing a few pages each month til I felt like I had a finished project.  Because the pages are small (6x8) they really go together quickly.  So yesterday I did two pages about things I feel good about - baking and my nook.

Dear Lizzie, Heidi Swapp, Studio Calico, Freckled Fawn, Simple Stories, Elles Studio - and inspired by the color challenge at Life Paper Scrapbook

Simple Stories, Heidi Swapp, American Crafts, Dear Lizzy, Elle's Studio, Basic Grey, Studio Calico.

Both of these projects started with Planetarium kits and add-ons which I supplemented to finish my pages.  And I have to admit that I am currently addicted to those Heidi Swapp arrows that resist spray inks. 

I have lots more to do in this album and will share as I get pages done.  I'm working hard to keep it fun and not become a task, so you never know when I'll have more to share.

Hope you had a chance to play today.  Enjoy the rest of your Saturday.