
I've been really lazy about writing here lately and definitely want to get back on track. A lot has been going on with my family lately, and this seems to be one of the first things that doesn't get done. But I've been busy creating and doing some reorganization, so I have lots to share. Hopefully this will be the week I get back on track.
One of my creative goals this year is to experiment more with mixed media. I have the supplies, but almost never use them. I've spent some time thinking about why I don't use those supplies more and can come up with a long list of reasons.
I started with the current sketch from My Creative Sketches.

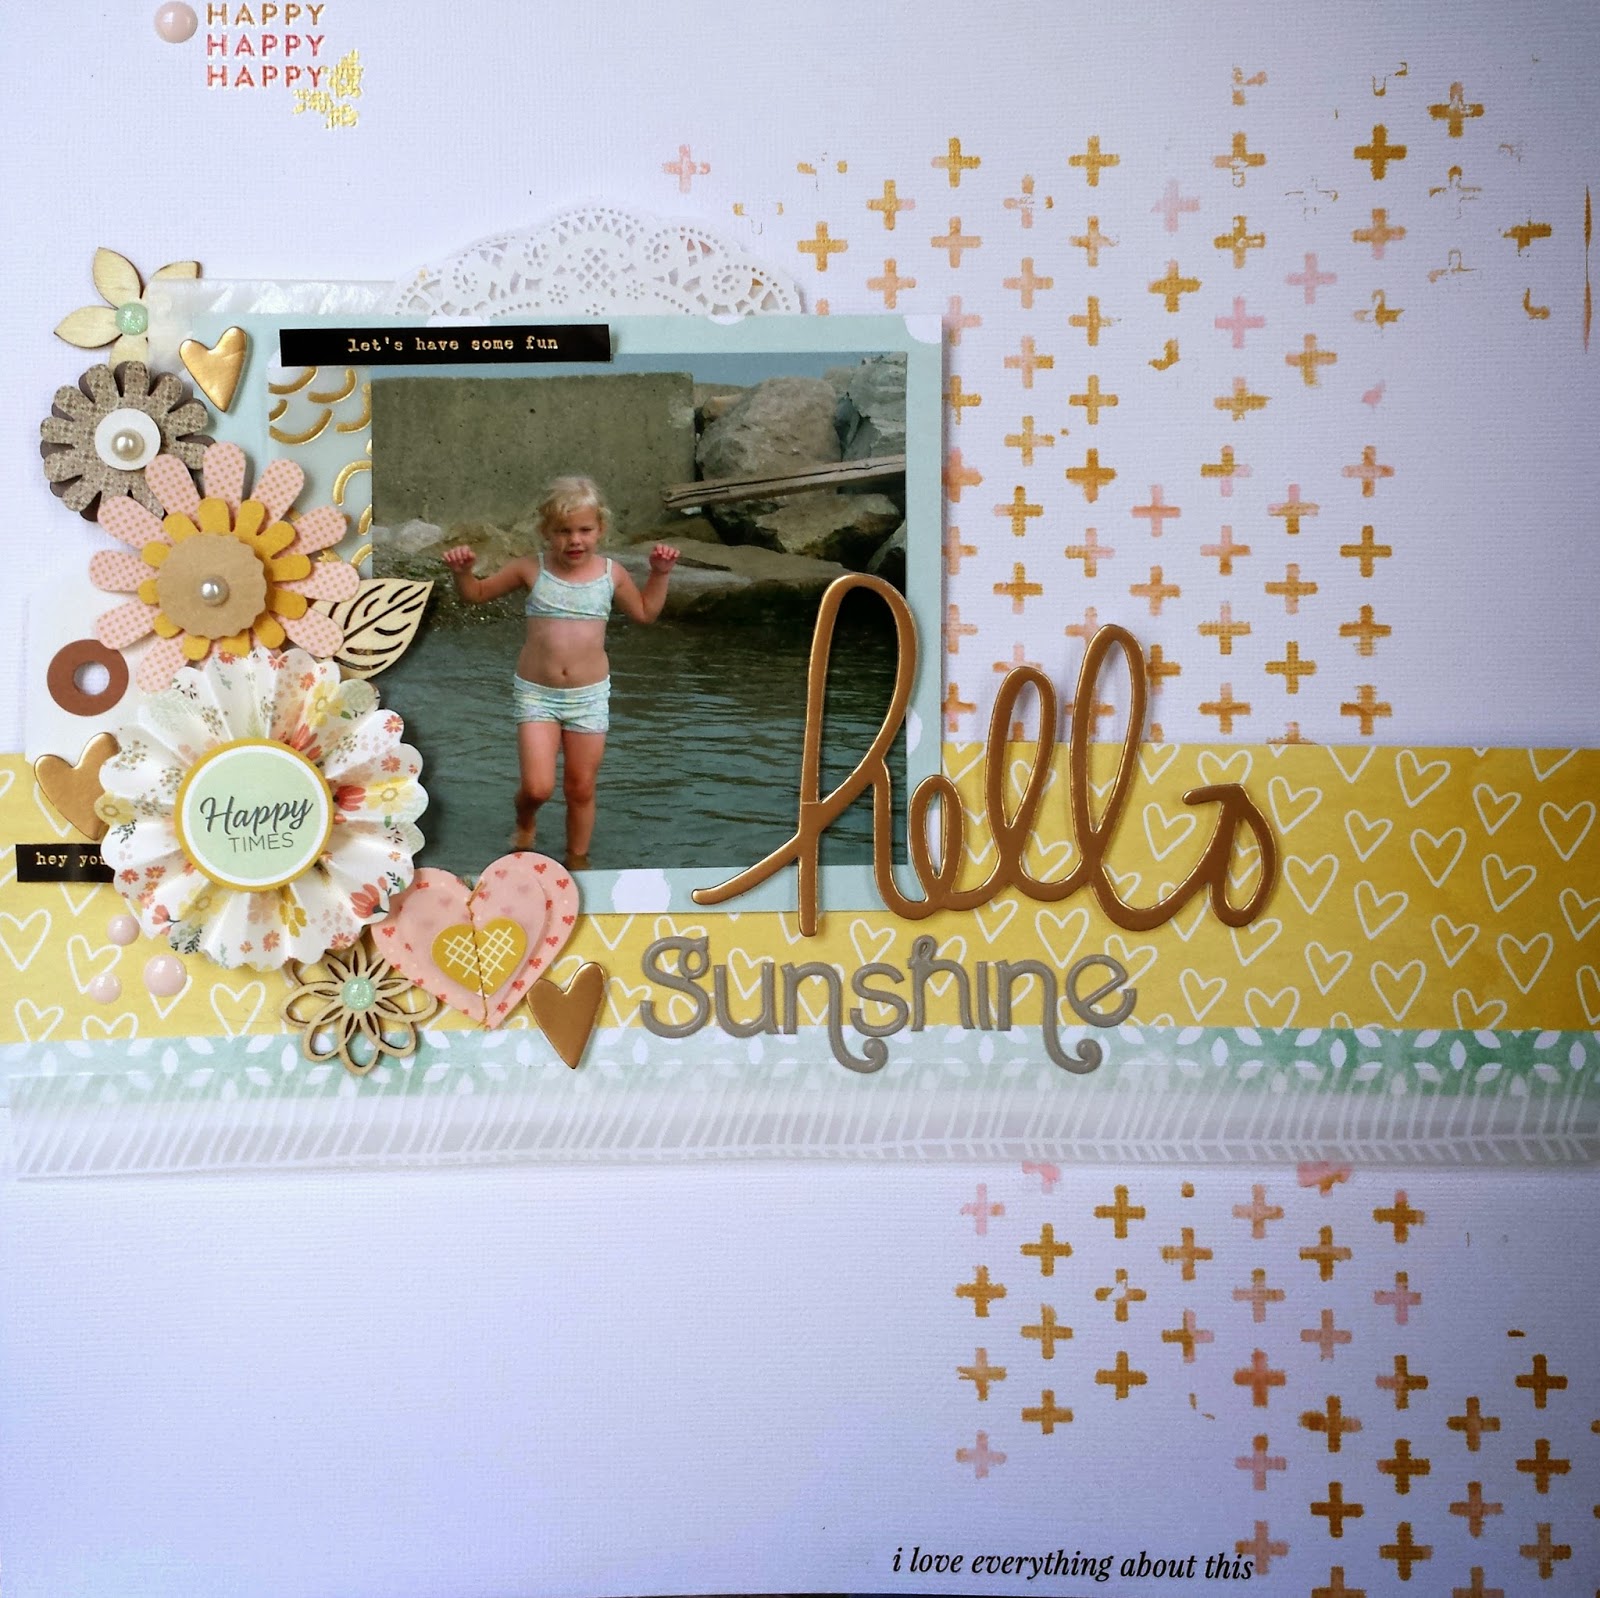
For my layout I stayed close to the sketch but dropped the large rectangle down into the bottom corner of the layout. I also moved the strips of paper in front of that rectangle.
I also added a larger square of the bright green paper and covered most of it with white vellum to create additional dimension. I wanted the pop of color but too much of that green was going to overwhelm the other papers. I used a label and a project life card to extend the feeling of strips on the far side of the photo. And that little woodgrain flag is a vintage studio calico color theory flag from my stash.
Because I don't plan well, I built my layout design and then went back to add the silkscreen leaf motif in the top corner. The silkscreen was in the March scrapbook kit at Studio Calico and is just lovely. After I stuck it to the top corner of the paper, I randomly added small bits of Color Theory acrylic paint in 4 colors - mint hint, limelight, blush crush and coral bay - until the design was well covered. I pulled up the silkscreen and washed it right way. (This is an important safety tip if you want to use your silkscreen more than once.) I was thrilled when I came back and looked at the way it turned out. It picked up all the colors in the paper strips but was still soft and simple. And it dried really quickly ........ I added a few gold spatters around the leaf and down at the bottom of the page and I was done.
At the end of the day, I called this experiment with mixed media a success - I pushed myself a little bit out of my box and ended up with a layout that still looked like I made it. It's taken me a long time to develop my style and I don't want it to get lost in a rush to try all the new things.
I'd love to hear any suggestions you might have for other mixed media techniques I should try. I have gelatos, watercolors, acrylic paints, gesso, lots of spray inks and who knows what else tucked away here. It's time to use them more .....and of course I've never been afraid to buy a new supply.
In the meantime, thanks for stopping by.
One of my creative goals this year is to experiment more with mixed media. I have the supplies, but almost never use them. I've spent some time thinking about why I don't use those supplies more and can come up with a long list of reasons.
- I am too impatient to wait for things to dry
- I don't think of myself as artistic and don't have the confidence to experiment
- I love playing with papers and embellishments, and I am not sure how to incorporate mixed media into my style....
I started with the current sketch from My Creative Sketches.

For my layout I stayed close to the sketch but dropped the large rectangle down into the bottom corner of the layout. I also moved the strips of paper in front of that rectangle.
 | |
| Papers and embellishments are from March Studio Calico kits - Homespun and addons |
I also added a larger square of the bright green paper and covered most of it with white vellum to create additional dimension. I wanted the pop of color but too much of that green was going to overwhelm the other papers. I used a label and a project life card to extend the feeling of strips on the far side of the photo. And that little woodgrain flag is a vintage studio calico color theory flag from my stash.
Because I don't plan well, I built my layout design and then went back to add the silkscreen leaf motif in the top corner. The silkscreen was in the March scrapbook kit at Studio Calico and is just lovely. After I stuck it to the top corner of the paper, I randomly added small bits of Color Theory acrylic paint in 4 colors - mint hint, limelight, blush crush and coral bay - until the design was well covered. I pulled up the silkscreen and washed it right way. (This is an important safety tip if you want to use your silkscreen more than once.) I was thrilled when I came back and looked at the way it turned out. It picked up all the colors in the paper strips but was still soft and simple. And it dried really quickly ........ I added a few gold spatters around the leaf and down at the bottom of the page and I was done.
At the end of the day, I called this experiment with mixed media a success - I pushed myself a little bit out of my box and ended up with a layout that still looked like I made it. It's taken me a long time to develop my style and I don't want it to get lost in a rush to try all the new things.
I'd love to hear any suggestions you might have for other mixed media techniques I should try. I have gelatos, watercolors, acrylic paints, gesso, lots of spray inks and who knows what else tucked away here. It's time to use them more .....and of course I've never been afraid to buy a new supply.
In the meantime, thanks for stopping by.




 "
"


