Pages

Showing posts with label paint. Show all posts

Sunday, March 5, 2017

Whitewash

Every once in a while a collection features a product that I fall in love with.  When American Crafts first introduced the Hazelwood collection (designed by 1Canoe2), the 12x12 sheet of wood veneer with the floral pattern caught my eye.  It was beautiful, but I just wasn't sure what I would do with it.
Naturally that didn't slow me down a bit - I got my hands on a piece at my first opportunity. My first thought was that I would use it as the base of a layout.  And honestly, I think that would be beautiful.  But in the end, I tried cutting it.  I used a box cutter in my craft room against a ruler to score it and then found it broke off quite nicely.  And that means I can use it as a unique layering element on my layouts - perfect to add dimension and texture.

But when I tried to use a piece on this layout, I found that the color didn't work well with the yellow patterned paper.  I was setting it aside when I thought about how Joanna Gaines is always treating wood and brick to maintain texture when refurbishing houses. (I am addicted to Fixer Upper lately and wish she would come fix up my house.) So I pulled out a tube of white acrylic paint and an old rag.  By squirting the paint directly on the piece of wood veneer I wanted to use and immediately wiping it off with a rag I created a whitewash look that made the veneer more neutral and a perfect layer for my project.


You still see the pretty floral pattern, but the effect is much softer.  After the paint was dry, I used a soft olive chalk ink on the edges to help add definition to my layers.  Here is the finished layout.


The wood adds all the dimension and texture I was looking for and still works well with the yellow tones in the patterned papers.  I knew all that time I spent watching HGTV would pay off.

I am planning lots of crafty time this afternoon.  I hope you find time to play today too. 


Sunday, April 3, 2016

Getting (A Little) Messy

I've been really lazy about writing here lately and definitely want to get back on track.  A lot has been going on with my family lately, and this seems to be one of the first things that doesn't get done.  But I've been busy creating and doing some reorganization, so I have lots to share. Hopefully this will be the week I get back on track.

One of my creative goals this year is to experiment more with mixed media.  I have the supplies, but almost never use them.  I've spent some time thinking about why I don't use those supplies more and can come up with a long list of reasons.
  • I am too impatient to wait for things to dry
  • I don't think of myself as artistic and don't have the confidence to experiment
  • I love playing with papers and embellishments, and I am not sure how to incorporate mixed media into my style....
.... I could go on, but you get the idea.  So I am going to try and push out of my comfort zone by playing with a mixed media technique at least one or two times a month.  This month I tried a silkscreen (which I know is super easy) and ink splatters which I already use on almost all of  my projects.  The idea is to try something, not to get overwhelmed with the process.

I started with the current sketch from My Creative Sketches.


For my layout I stayed close to the sketch but dropped the large rectangle down into the bottom corner of the layout.  I also moved the strips of paper in front of that rectangle.

Papers and embellishments are from March Studio Calico kits - Homespun and addons

I also added a larger square of the bright green paper and covered most of it with white vellum to create additional dimension.  I wanted the pop of color but too much of that green was going to overwhelm the other papers.  I used a label and a project life card to extend the feeling of strips on the far side of the photo.  And that little woodgrain flag is a vintage studio calico color theory flag from my stash.

Because I don't plan well, I built my layout design and then went back to add the silkscreen leaf motif in the top corner.  The silkscreen was in the March scrapbook kit at Studio Calico and is just lovely.  After I stuck it to the top corner of the paper, I randomly added small bits of Color Theory acrylic paint in 4 colors - mint hint, limelight, blush crush and coral bay - until the design was well covered.   I pulled up the silkscreen and washed it right way. (This is an important safety tip if you want to use your silkscreen more than once.)  I was thrilled when I came back and looked at the way it turned out.  It picked up all the colors in the paper strips but was still soft and simple.  And it dried really quickly ........  I added a few gold spatters around the leaf and down at the bottom of the page and I was done.

At the end of the day, I called this experiment with mixed media a success - I pushed myself a little bit out of my box and ended up with a layout that still looked like I made it.  It's taken me a long time to develop my style and I don't want it to get lost in a rush to try all the new things.

I'd love to hear any suggestions you might have for other mixed media techniques I should try.  I have gelatos, watercolors, acrylic paints, gesso, lots of spray inks and who knows what else tucked away here.  It's time to use them more .....and of course I've never been afraid to buy a new supply.

In the meantime, thanks for stopping by.

Monday, May 4, 2015

Trying New Things - Silkscreen

Did you have a chance to play this week in celebration of National Scrapbook Day?  I love all the challenges that get posted around the world - they tend to push me out of my comfort zone so that I try new things (or at least experiment with products and techniques I rarely use.  Silkscreens are a great example.

I have a few silkscreens - mostly from Studio Calico kits - but I rarely use them.  I love the thought of them and I love the look you get, but I'm not very confident with them.  And I rarely want to take time to let a project dry.

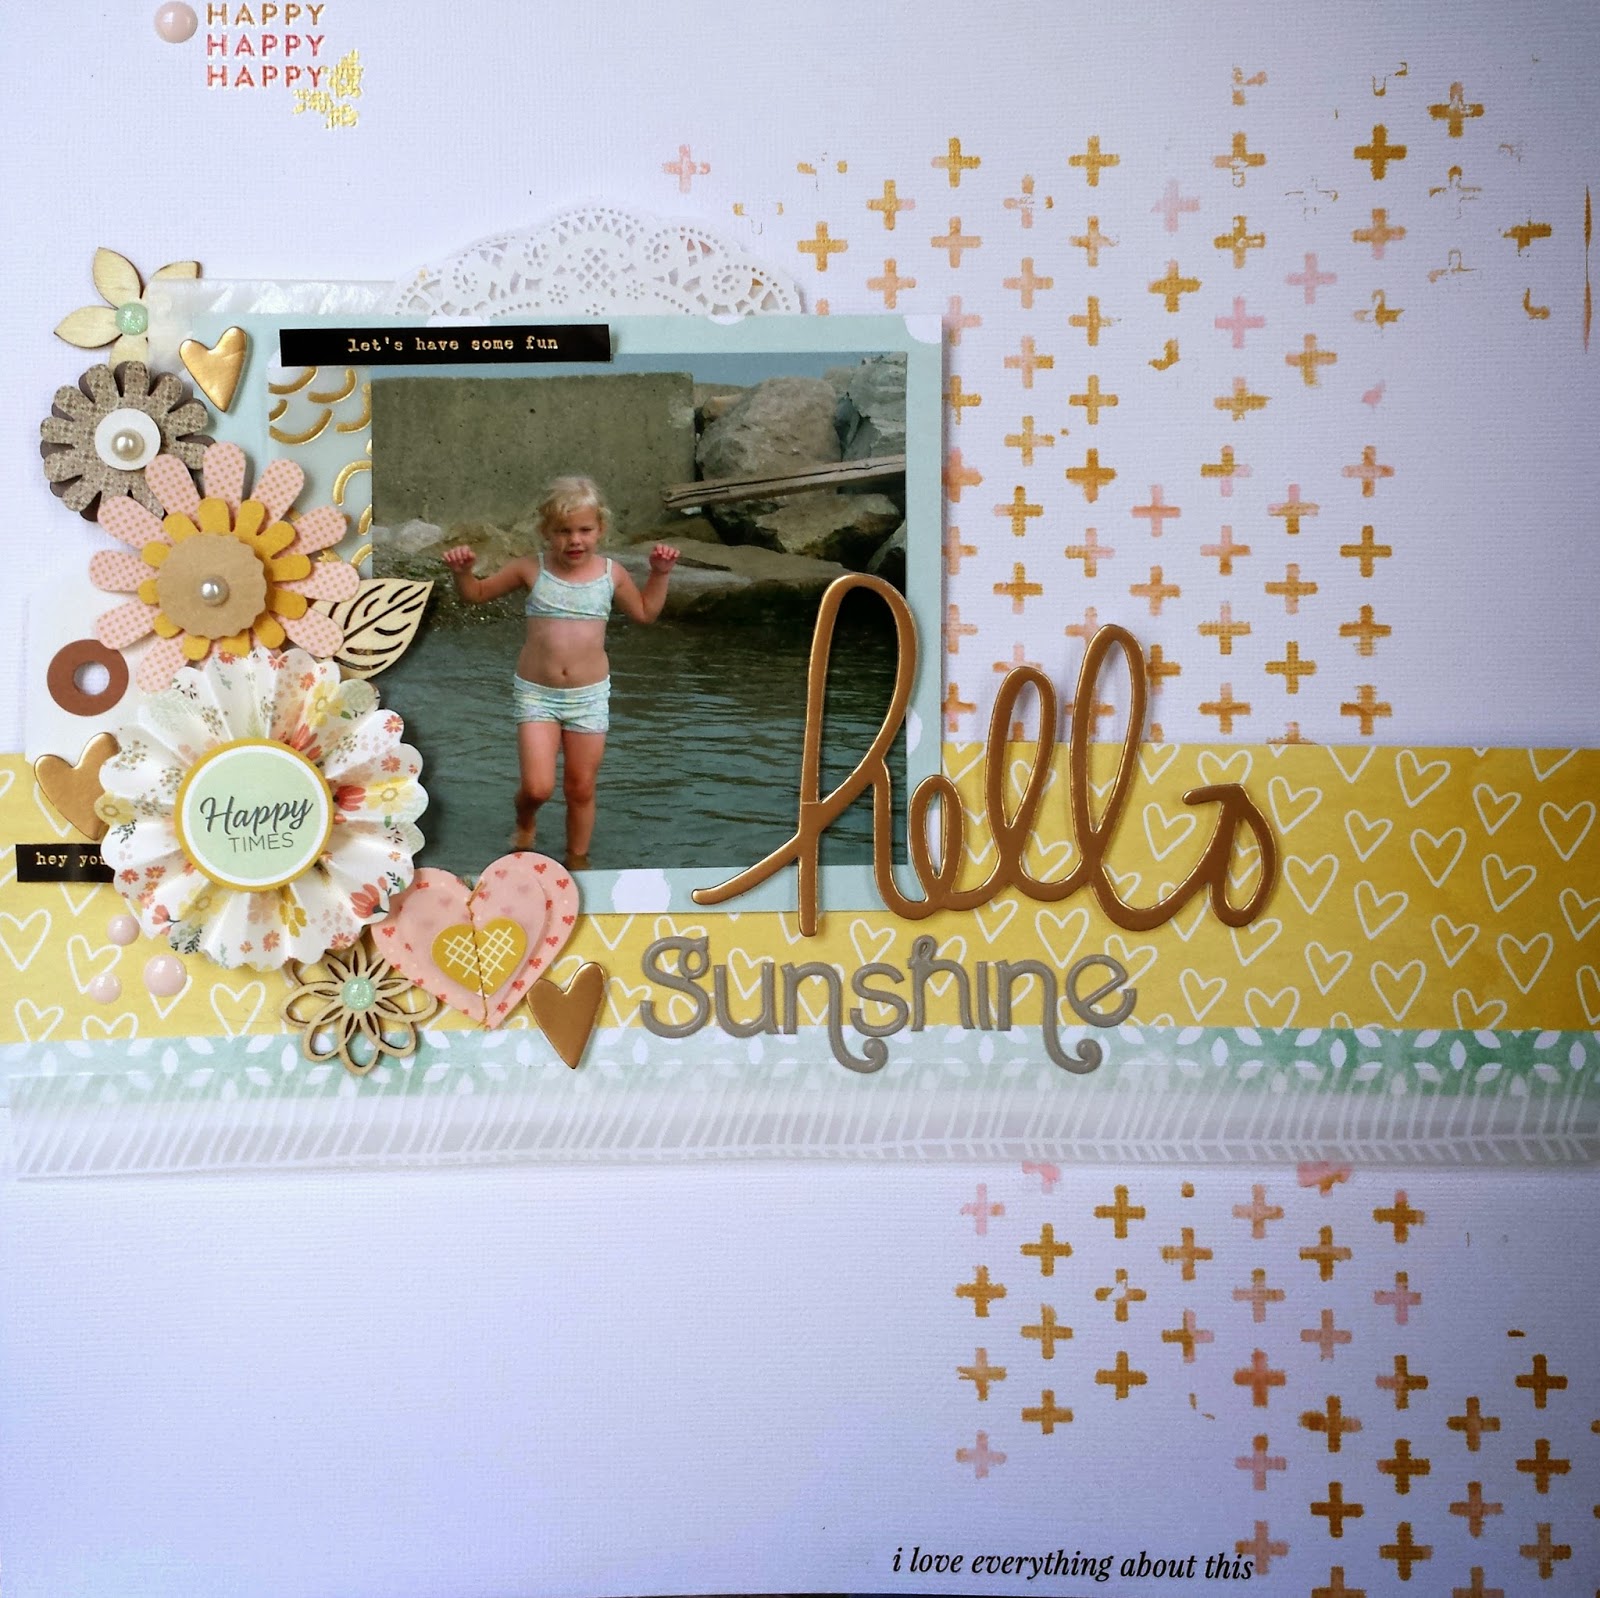
But this weekend, I got those babies out - twice.  I use done with acrylic paints here and it was super easy.  I figured out approximately where I was going to put my photo and then laid the silkscreen down next to it.  I put little dabs of color theory blush crush and 24K paint on the silkscreen and then smeared it around so the colors blended and I had a random mix of pink and gold.  The only problem I had was that my silkscreen was small and I had to reapply it several times to cover enough of the background for the look I wanted.


The second time I got out my silkscreens, I used them with watercolors. I used a small piece of watercolor paper and adhered my silk screen.  I then applied different yellow, orange and pink colors across the silkscreen to create a title block for a simple grid layout.


Oh - and those clouds - a stencil with gesso.  And I painted that veneer butterfly.  I was using those supplies.  Now the trick is to keep the momentum going.

So did you try anything new this weekend?  Link me up.  I'd love to see.

Thanks for stopping by.

Monday, November 17, 2014

December Daily - To Do or Not To Do ....and a Giveaway

 Holiday giveaway is extended til midnight on Thanksgiving!  Keep commenting on my daily blog posts for extra entries.

I love the idea of a December Daily album.  But I tried it once, made all my pages and never printed any pictures.  Plus I chose a 6x6 size and used so many layers and embellishments that it didn't come close to closing - even without those photos.  But it was beautiful and it was fun to do.

So at the beginning of the month, I waffled back and forth about the project.  I signed up for the 25 Days class at Studio Calico, but still wasn't sure.  We just don't do fun holiday things that I would put in an album everyday.  But then I realized - it doesn't have to be a December daily to be a special holiday album.  So I am approaching the project as an album to document our 2014 holidays.  I am starting with Thanksgiving and ending with the new year.  And there won't be pictures and/or journaling everyday. 

I looked at all the kits out there - Ali Edwards, Gossamer Blue, and Freckled Fawn to name a few.  Then My Scraps and More put out both an album kit and an embellishment kit.  All of these kits seemed to be a good value, but some of them required a pretty big investment.  And I didn't love every single thing about any of them.  And I have a lot of supplies.  So if I am going to do this, it is going to be with a homegrown kit.

In my first attempt I learned that choosing an album was critical to the project's success.  I knew I wanted a 6x8 album, but which one.  I ultimately chose a kraft Snap album with a black spine.  The size and price were good, it was neutral and easily customizable, there is a large variety of page protectors and it was readily accessible. I got mine at JoAnns.


 Black Snap Binder, 6"x8" - Simple Stories


But what about the kit.  I started with choosing a color palette by pulling out my cardstock and pulling sheets til I had colors I like.  I had done some Christmas layouts lately and think those color choices influenced the colors I chose for my album.. I ended up with pale blue, soft red, lime green, black and pink.


Once I had my color palette, I couldn't wait to get started with the cover.  I knew I wanted to paint it, a pale blue but couldn't find a color that was just what I wanted.  So I mixed a blue, a mint, and white paint til I got just the color I wanted.  I also pulled out my gesso and the Martha Stewart liquid gilding in gold for my cover.


I started by taping off the black fabric spine with washi tape - I'm a messy crafter.  Then I primed the album inside and out with gesso.  I painted the inside with the gold liquid gilding and a foam brush.  aIt looks amazing.  It is shiny and smooth and will provide a perfect backdrop to all my pages. (This picture doesn't really do it justice.)


Then I took on the outside of the cover.  I painted it with the pale blue paint color I had mixed and a foam brush.  I used just one coat because I really like the look (hint - I used an extra piece of chipboard and treated it just like the album cover - that way I could see how it would look with a second coat of blue paint.


The wood veneer tree was from Elle's Studio last year.  The red sequin star is from the Studio Calico Magical sequin pack.  And then a wide line green grosgrain ribbon tied in a bow finished off my cover.

I loved the end result.  It reflects the colors and feel of the products I chose for my kit.  (I'm still thinking about adding the year to the bottom branch of the tree>

Giveway:  While I was making my December Daily kit, I pulled some things that might fit right in with your holiday crafting plans.  Leave a comment on any post this week and be entered to win.  Giveaway closes at midnight on November 23rd.

Here are some of the goodies I pulled.  (This isn't a kit - its an assortment of holiday themed supplies that might fit in with your Christmas supplies,)

I'd love to know what ideas you have for adding the year to my cover - or if you think I should stop where it is.  (I know I will put the year on the spine.)

I'm going to share more about my December Daily kit building and organization later this week.  Hope you stop back.